Node Symbols - Grid Editor
The Node Symbols object in the grid editor Contents window contains the grid editor symbol properties. Click the Node Symbols object to change the grid node symbol properties in the Properties window. Click the Info property page to view information about the grid file.
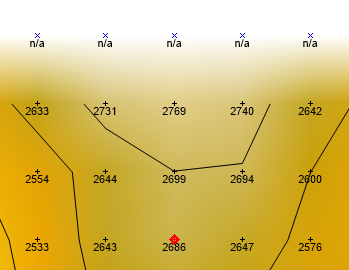
The visibility check box next to the Node Symbols object is used to turn on or off the symbol display in the grid editor window. When the check box is checked, a black "+" appears at the location of each grid node. NoData nodes appear with a blue "x" at each grid node location. When the command is not checked, the symbols are not displayed, but you can still edit the grid. Some node markers are not displayed if the zoom or density is such that they are too close together. Although not all of the markers are shown, the active node indicator still "snaps" to each grid node as the arrow keys and mouse are used.
|
|
| This image displays grid node symbols, labels, contour lines, and a color fill for a grid file. |
Info Properties
An Info page is displayed in the Properties window when the Node Symbols object is selected. See the Grid Info Properties help topic for more information on these common, information only, properties.
Grid Node Symbol Properties
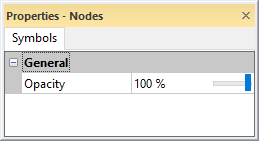
The Symbols page is displayed in the Properties window when the Node Symbols object is selected. Edit the symbol opacity in the Properties window.
|
|
|
Edit symbol opacity in the Properties window. |
Opacity
Change the Opacity of the grid node symbols by entering a value from 0% (completely transparent) to 100% (completely opaque). To change the opacity, highlight the existing value and type a new value. Press ENTER on the keyboard to make the change. Or, click and drag the  to change the opacity percentage.