Changing Map Properties
There are primarily two ways to change how the map looks: by changing the source data or by changing the properties. You can change the data you use to create the map layers by creating and editing grids with the Grids ribbon commands or by creating and editing features with the Features ribbon commands. You can change how maps appear with the map and layer properties. In this tutorial, we will focus on changing properties.
|
| Change the Map coordinate system to set the coordinate system for the map display. |
Surfer automatically converts source data from different coordinate systems into the coordinate system specified by the Map frame. In this case,
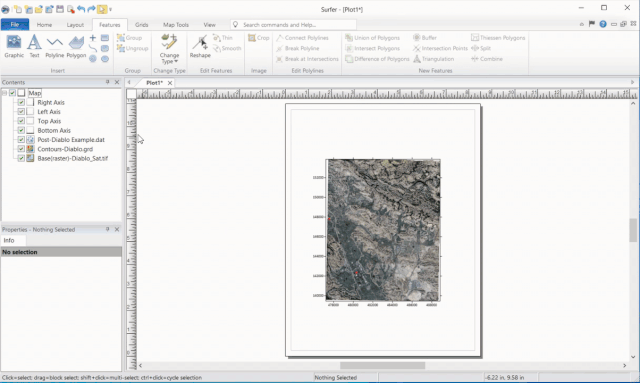
- Diablo.grd (contour layer) uses State Plane 1927 California III (meters),
- Diablo Example.dat (post layer) uses NAD27 UTM Zone 10N,
- and Diablo_Sat.tif (base raster layer) uses WGS1984.
We'll change the map target coordinate system to WGS1984.
- The target coordinate system is part of the Map frame. Select the Map frame in the Contents window. For this action, it is not recommended to click in the plot window to select the Map frame.
- Click the Coordinate System tab in the Properties window.
- Click Change in the Coordinate system field.
- Use the search bar at the top of the Assign Coordinate System dialog to locate the World Geodetic System 1984 coordinate system in the structured list. Select World Geodetic System 1984.
- Click OK.

|
| The map is now displayed using the World Geodetic System 1984 coordinate system. |
Next, because WGS1984 is a geographic (unprojected) coordinate system we will adjust the scaling to reduce distortion in the map.
- Click the Scale tab in the Properties window.
- Clear the Proportional XY scaling option.
- Set the Length (page units) in the X Scale section to 6in (15.2cm) if it is not already.
- Set the Length (page units) in the Y Scale section to 7.6in (19.3cm).
Now the map frame has been modified. Next we will modify the map layers to improve contrast between the contours, post symbols, and base map image.
- Select the Contours-Diablo.grd layer in the Contents window.
- Click the Levels tab in the Properties window.
- In the Major Contours | Line properties section,
- Set the line Color property to White
- Set the line Width property to 0.02 in (0.05cm).
- In the Minor Contours | Line properties section, set the line Color property to White.
- Select the Post-Diablo Example.dat layer in the Contents window.
- Click the Symbol tab in the Properties window.
- In the Symbol | Symbol properties section, set the Symbol property to the filled diamond (Number 6) and Fill color property to Cyan.
Tip: Click the Home | Undo | Undo command or press CTRL+Z on the keyboard to reverse the last operation performed. Click the Home | Undo | Redo command or press CTRL+Y on the keyboard to reverse the last Undo command.
We have completed the basics of creating a map and changing some properties. Next we'll see the map in the 3D view.
Back to Creating a Map
Next to Viewing a Map in 3D